_edited.png)
How To Sew a Button- Mending 101
- Kari Mullan
- Oct 19, 2023
- 2 min read


One of the key ways to minimize the amount of clothes that you need to buy each year - and help to keep clothes from going to landfills - is learning how to fix damaged items you already own. One of the most common things that can happen to older- well loved- clothing is that a button falls off, when this happens the garment will usually get thrown out or replaced. But instead of replacing that piece or spending money to get it repaired you can learn how to mend this issue yourself with this helpful guide.
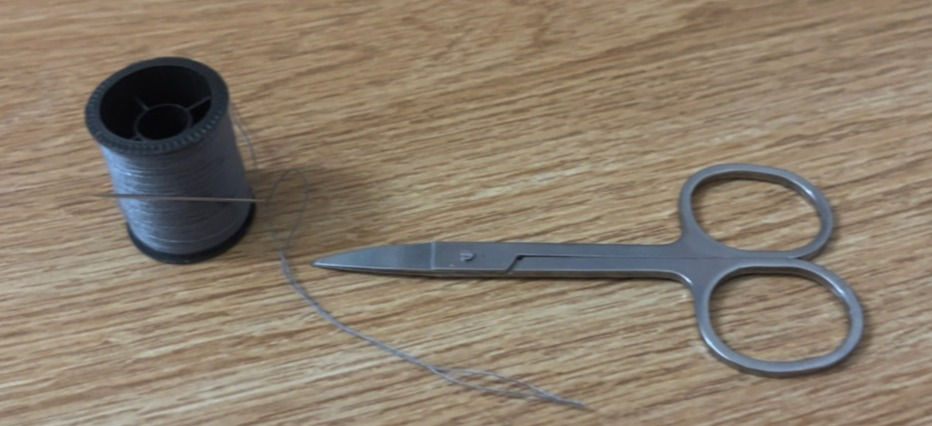
A button is a great start to learning how to mend clothing because it is fairly easy to learn and very useful, since buttons falling off isn't uncommon. It is also good because you don't need much to get started, just a needle, thread (preferably a similar color to your existing garment), scissors and a button.
So now that you have all of your supplies we can get started with Step 1!
Step 1: Thread Your Needle
Firstly, with a good sized piece of thread, put one end through the eye of the needle. Once this is done tie a knot with the two ends of the thread - I always prefer to double knot it.

Step 2: Start in the Back
Then to really get started put the needle through the fabric, starting on the inside of the fabric. Then put it through one of the holes on the button.
Step 3: Go Diagonally
Now that you have the thread through one hole put the needle back through the fabric, going through the hole that is diagonal from that first hole. However, if your button only has two holes, rather than four, simply go through the opposite hole than you did before.
Step 4: Repeat
Next go through the fabric through the back again but exit out a different hole then before. Continue to repeat steps 2 and 3 until the button feels secure.
Step 5: Finish
The last step is to start with the thread on the inside and go through the fabric once more, but this time don't exit through a button hole but rather very close to them. Then wrap the thread around your previous stitches by going in between the fabric and the button, this helps to secure and strengthen the repair. Then go through the back and loop the thread through the stitches and pull tight to secure your work. The last thing to do is just to clean up any loose threads by trimming them.
If you have done all the above steps you should have a perfectly attached button again. The garment should be as good as new and there should be no need to replace it or get rid of it anytime soon. If you would like a different way to learn this skill check out this video guide below!


Comments